Log in to your WooCommerce administration panel
Install Brisqq plugin
Activate Brisqq plugin
Test and verify
In order to install the Brisqq plugin, it is necessary to be logged in to your WooCommerce administration panel as administrator.
To offer the Brisqq shipping method you need to install the Brisqq plugin on your WooCommerce website. This can easily be done by using the Plugins management section.
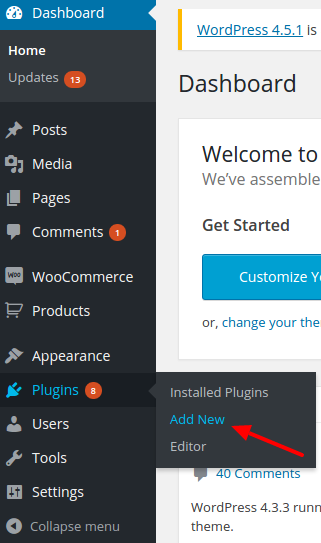
The Plugins management section can be accessed from the administrative panel, like this:
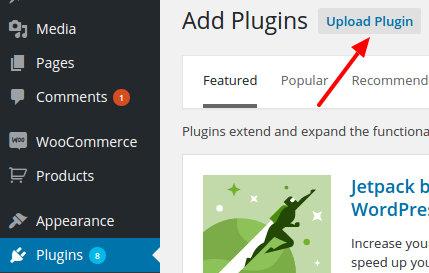
Once the Plugins management section is open, click on the "Upload Plugin" button at the top of the page.
Click on the "Choose File" button.

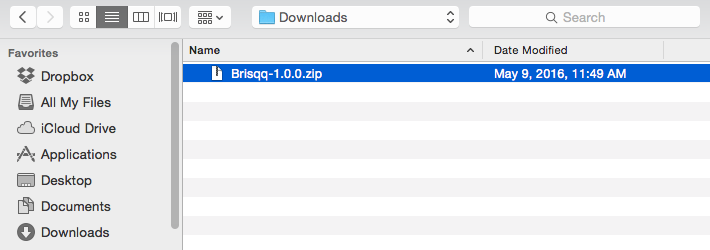
Find and select the Brisqq plugin file, which the Brisqq support team have made available to you.
Click on the "Install Now" button to begin the installation process.

Click on the "Activate Plugin" button to activate the plugin.

After the Brisqq plugin has been successfully installed and activated, it is time to enable and configure the new shipping method so click on the "WooCommerce" section in the administrative panel, and click on the "Settings" button.

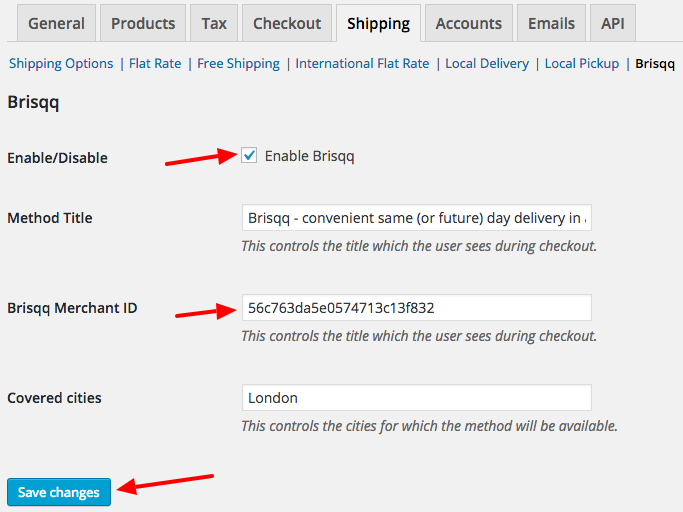
Now click on the "Shipping" tab, and click on the Brisqq link in the shipping options.

When the Brisqq shipping option configuration tab is open, pay particular attention to the following two fields:
Make sure the "Enable Brisqq" field is checked, and the "Brisqq Merchant ID" field is filled with the relevant Brisqq Account ID, which the Brisqq support team have made available to you.
Click on the "Save changes" button once you have filled in the necessary fields correctly.
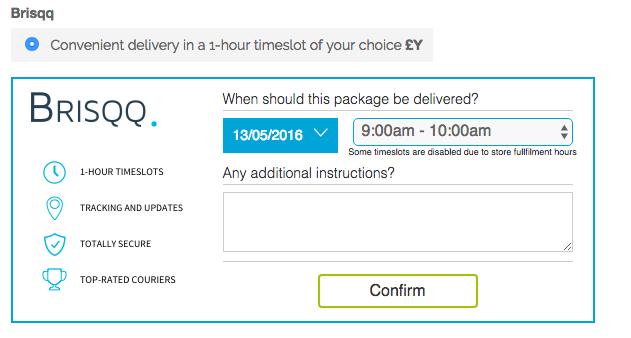
You can now log in to your WooCommerce website with a customer account to test and verify the new shipping method.
Add items to your cart and go to the checkout page. Enter a London postcode and the Brisqq shipping method should now be available and ready for use.
